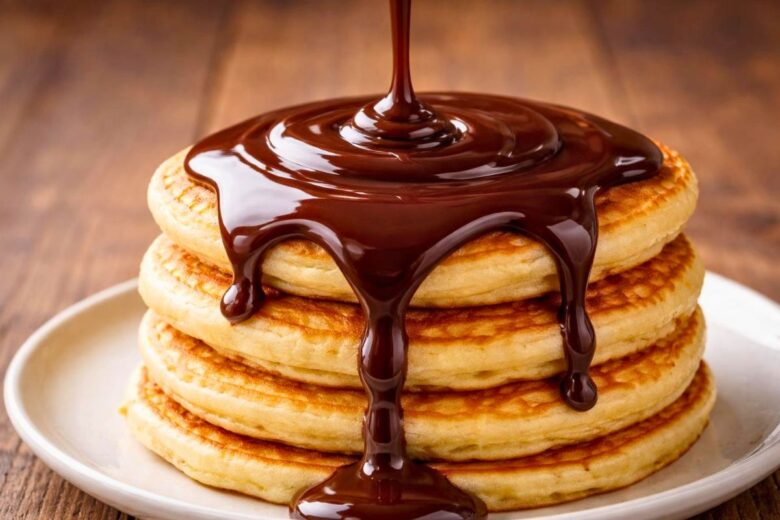
This Drizzle Chocolate Syrup Recipe is rich, smooth and very easy to make at home. If you love desserts, this Drizzle Chocolate Syrup Recipe will make everything taste better.
You can use it on ice cream, pancakes, cakes or even fruit. Learning how to make Drizzle Chocolate Syrup at home is fun and budget-friendly. The taste is deep, sweet and chocolatey. Once you try it, you may never buy store syrup again.
My Story With This Comforting Dish
I still remember the first time I made chocolate syrup at home. I ran out of store syrup during a dessert night. My kids were waiting for ice cream. So I quickly tried a homemade version.
That simple Drizzle Chocolate Syrup Recipe saved the night. It was smoother and richer than I expected. Since then, I always make it fresh alongside other homemade favorites — we had just finished making a tall and fluffy layered strawberry shortcake earlier that evening, and the chocolate syrup drizzled over it was a dream. It feels warm, homemade, and full of love every time.
Equipment List
- Small saucepan
- Whisk
- Measuring cups
- Measuring spoons
- Spoon
- Glass jar or bottle
Recipe Overview
- Recipe Name: Drizzle Chocolate Syrup Recipe
- Servings: 10
- Prep Time: 5 minutes
- Cook Time: 10 minutes
- Total Time: 15 minutes
- Course: Dessert sauce
- Cuisine: American
- Calories: 120 kcal per serving
Ingredients for Drizzle Chocolate Syrup Recipe
- 1 cup cocoa powder (unsweetened)
- 1 cup sugar
- 1 cup water
- 1 teaspoon vanilla extract
- 1 pinch salt
- 1 tablespoon butter (optional for shine)
Instructions for Drizzle Chocolate Syrup Recipe
1. Mix Dry Ingredients
In a small saucepan, add cocoa powder, sugar and salt. Mix them well using a whisk. This helps remove lumps and creates a smooth base for your Drizzle Chocolate Syrup Recipe.
2. Add Water Slowly
Pour water into the pan slowly while whisking. Keep stirring until everything mixes well. The mixture should look smooth and slightly thick before heating begins.
3. Start Cooking the Mixture
Place the saucepan on medium heat. Stir continuously while it heats. Do not stop stirring because chocolate can stick easily. The mixture will slowly become shiny and rich.
4. Simmer Until Thick
Let the syrup gently simmer for about 5–7 minutes. Keep stirring often. It will slowly thicken and become glossy. This step is important for perfect texture in your homemade syrup.
5. Add Vanilla and Butter
Turn off the heat. Add vanilla extract and butter. Stir well until everything melts completely. This makes the Drizzle Chocolate Syrup Recipe smooth, rich and extra flavorful.
6. Cool and Store
Let the syrup cool for a few minutes. Then pour it into a clean glass jar or bottle. It will thicken more as it cools down completely.
Cooking Tips and Simple Recipe Variations
- Use dark cocoa for a richer taste
- Add more sugar for sweeter syrup
- Replace water with milk for creamy syrup
- Add espresso powder for coffee flavor
- Store in glass bottles for freshness
A Little History Behind This Comfort Food
Chocolate syrup became popular in the early 1900s. People wanted quick dessert toppings. It started as a simple mix of cocoa, sugar and water. Over time, it became a household favorite.
Today, homemade versions like this Drizzle Chocolate Syrup Recipe are loved for their fresh taste and simple ingredients.
What to Serve With This Dish
This syrup goes well with many desserts. You can drizzle it on ice cream, brownies, pancakes, waffles and cakes. It also tastes great on milkshakes and fresh strawberries. Some people even mix it into hot milk for a quick chocolate drink.
A particularly wonderful pairing is drizzling this syrup over a bowl of cool, creamy homemade vanilla custard ice cream — the warm chocolate against cold and silky ice cream is hard to beat.
It also works beautifully on top of a rich, fudgy brownie loaded with strawberries, adding an extra layer of deep chocolate flavor to every bite.
If you are serving a crowd and want a showstopper dessert, try spooning this syrup generously over a classic no-bake banana pudding — the chocolate and banana combination is always a winner.
Occasion or Event Ideas
- Birthday parties
- Ice cream nights
- Holiday desserts
- Family movie nights
- Weekend treats
Storage and Reheating Tips
- Store in a sealed glass jar
- Keep in refrigerator for up to 2 weeks
- Stir before using if it thickens
- Warm slightly before drizzling
- Do not freeze syrup
Nutrition Information
| Nutrient | Amount per serving |
|---|---|
| Calories | 120 kcal |
| Sugar | 18g |
| Fat | 3g |
| Carbohydrates | 25g |
| Protein | 1g |
| Fiber | 2g |
Is This Dish Good for You?
This Drizzle Chocolate Syrup Recipe is a sweet treat. It is best enjoyed in small amounts. Cocoa powder gives antioxidants, which are good for health. However, sugar content is high, so moderation is important.
Homemade syrup is still better than many store versions because it has fewer chemicals and fresh ingredients.

Drizzle Chocolate Syrup Recipe
Ingredients
- 1 cup cocoa powder unsweetened
- 1 cup sugar
- 1 cup water
- 1 teaspoon vanilla extract
- 1 pinch salt
- 1 tablespoon butter optional for shine
Instructions
Mix Dry Ingredients
- In a small saucepan, add cocoa powder, sugar and salt. Mix them well using a whisk. This helps remove lumps and creates a smooth base for your Drizzle Chocolate Syrup Recipe.
Add Water Slowly
- Pour water into the pan slowly while whisking. Keep stirring until everything mixes well. The mixture should look smooth and slightly thick before heating begins.
Start Cooking the Mixture
- Place the saucepan on medium heat. Stir continuously while it heats. Do not stop stirring because chocolate can stick easily. The mixture will slowly become shiny and rich.
Simmer Until Thick
- Let the syrup gently simmer for about 5–7 minutes. Keep stirring often. It will slowly thicken and become glossy. This step is important for perfect texture in your homemade syrup.
Add Vanilla and Butter
- Turn off the heat. Add vanilla extract and butter. Stir well until everything melts completely. This makes the Drizzle Chocolate Syrup Recipe smooth, rich and extra flavorful.
Cool and Store
- Let the syrup cool for a few minutes. Then pour it into a clean glass jar or bottle. It will thicken more as it cools down completely.
Notes
- Use dark cocoa for a richer taste
- Add more sugar for sweeter syrup
- Replace water with milk for creamy syrup
- Add espresso powder for coffee flavor
- Store in glass bottles for freshness
FAQs about Drizzle Chocolate Syrup Recipe
1. Can I make chocolate syrup without sugar?
Yes, you can use honey, maple syrup or sugar-free sweeteners. The taste will change slightly, but it will still be delicious and smooth for desserts.
2. Why is my chocolate syrup too thick?
If your syrup is too thick, add a little warm water and stir well. Heat it slightly to adjust the consistency to your liking.
3. Can I use milk instead of water?
Yes, milk makes the syrup creamier and richer. It also gives a softer chocolate flavor. Just remember it may reduce shelf life slightly.
4. How long does homemade chocolate syrup last?
It usually lasts up to two weeks in the fridge. Always store it in a clean and sealed container to keep it fresh and safe.
5. Can I make this syrup vegan?
Yes, just skip butter or use plant-based butter. The rest of the Drizzle Chocolate Syrup Recipe is already vegan-friendly and simple. If you enjoy plant-based desserts, you might also love making a dairy-free chia pudding with blueberries — a light and wholesome treat that pairs nicely with a chocolate drizzle on top.
Final Thoughts
This Drizzle Chocolate Syrup Recipe is quick, easy, and full of rich chocolate flavor. You can make it in just a few minutes with simple ingredients. Learning how to make Drizzle Chocolate Syrup at home gives you control over sweetness and texture. It is perfect for desserts, snacks and special treats.
If you are on a roll making homemade dessert components, a buttery, nutty pecan pie drizzled with this chocolate syrup makes for a truly indulgent finish to any meal.
Once you try this homemade version, you will love how fresh and smooth it tastes. It brings joy to simple desserts and makes every bite more special.

Hi! I’m Livy Lane, the creator of LivyCooks.com. I share easy, delicious recipes anyone can make at home. Let’s cook, taste and enjoy every bite together!